Countdown timer for the Trotec Speedy laser system.
2022
This small project was completed to remove an annoyance of mine. During my time laser cutting at Vector Etch, it became apparent to me that being aware of the laser at all times is one of most important things to be mindful when laser cutting. The biggest issue I found that I had was understanding how far the laser cutter had cut any given job.
The Issue.
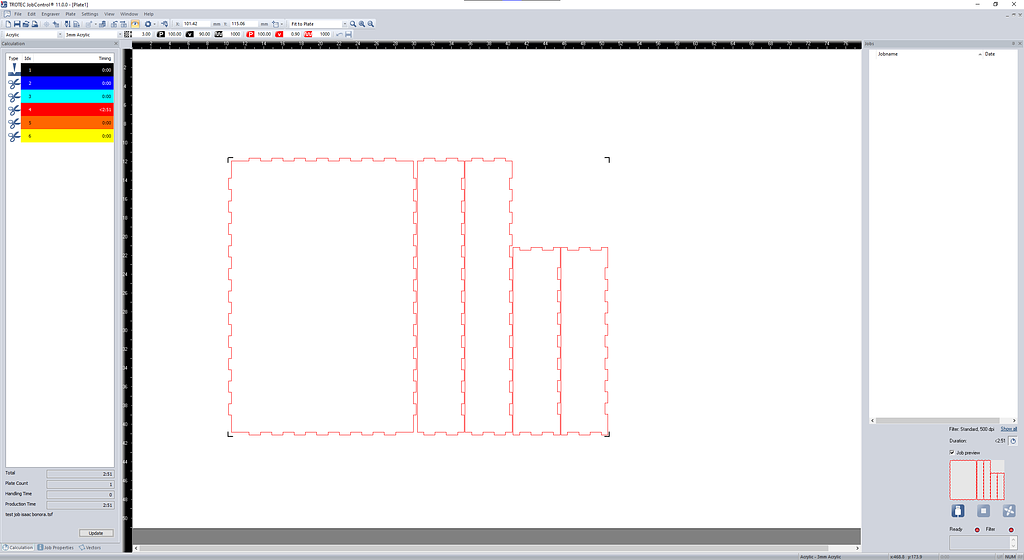
JobControl, the software that is used to control the lasers, provides an eta for each job, and displays a clock that counts up from 0 in the small corner of your screen. Whilst useful when standing at the desktop, other duties require you to not be by the screen - ultimately making it useless if your goal is to be productive.
image.png107 KB
The Solution.
The solution was obvious, make a bigger screen for an eta to displayed on. Whilst simple on paper, it is much harder in practice. A few issues I had to solve was:
How do I get the ETA from JobControl?
What screen do I display on to? And how do I display the data?
How do I communicate from JobControl to the display?
For the first one, how do I get the ETA from JobControl? Whilst a few ideas were bounced around, such as screen recording and decoding for status. The best solution was found in the log file JobControl spits out. Thankfully, JobControl is quite verbose, spitting out all sorts of useful information, from what files are being cut, what state the machine is in, and, what I want, the ETA of a job about to be cut.
To get the data from the log file, I used a python script to make a copy of the file and analyse every half second or so for any update. If a new update happens it will send a notification and take note of where the machine is at. This program was packaged up as a tray icon app that gives basic control and status.
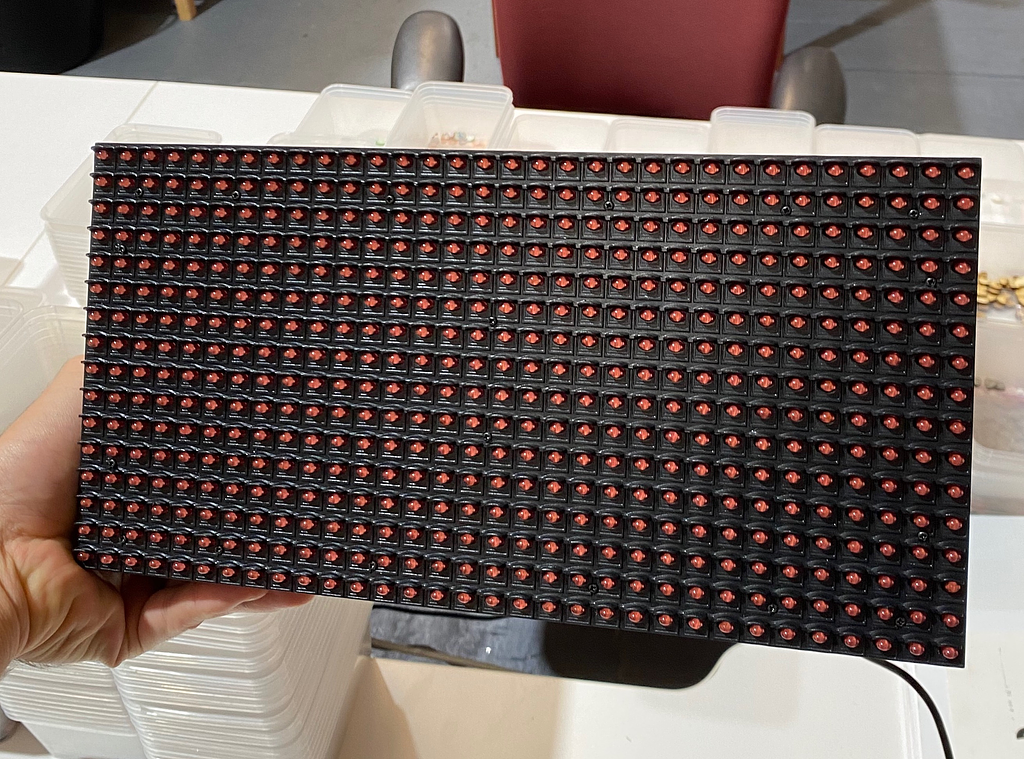
Secondly, how will the screen be set up? Thanks to previous knowledge of Arduino learnt from other Industrial design projects, it became the default option. The benefit of its simplicity and wide range of peripherals available afforded a cost effect hardware stack. After testing several display types, a LED matrix was chosen. This was due to a size-to-price performance as other display types such as a segment-display were cost prohibitive at larger sizes. Where visibility as a distance was a requirement.
image.png6.62 MB
Finally, how will JobControl communicate with the display? This part was a given, because I was using a Python stack on the desktop to read and an Arduino stack with display hardware. The simplest solution to communicating between devices is via a serial connection. Thankfully, Python has a great library available to utilize a serial connection and Arduino has it natively. After connecting the two and adding a communication layer to the Python script we were rolling. Watch it in use here.
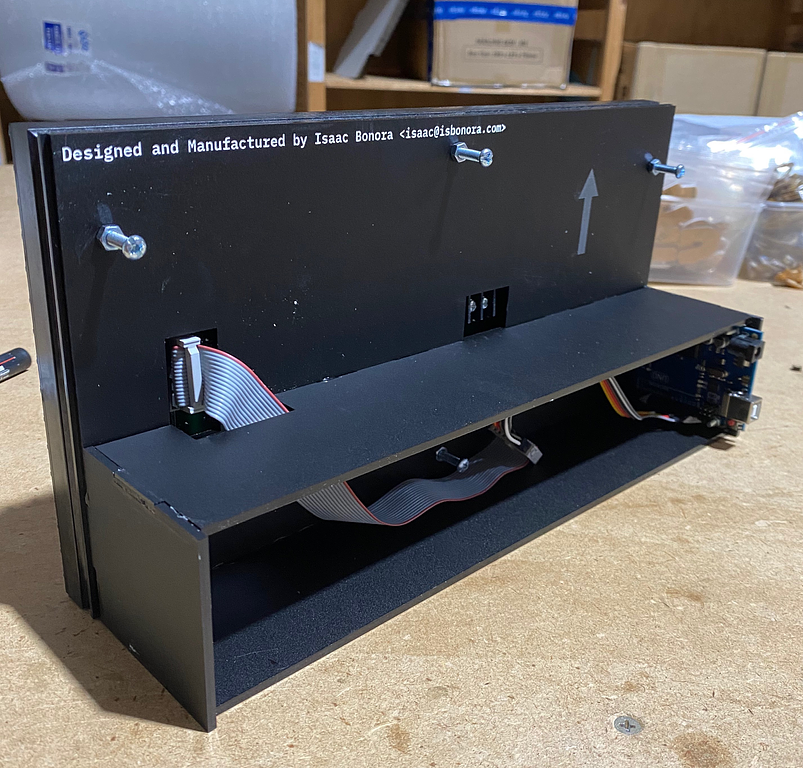
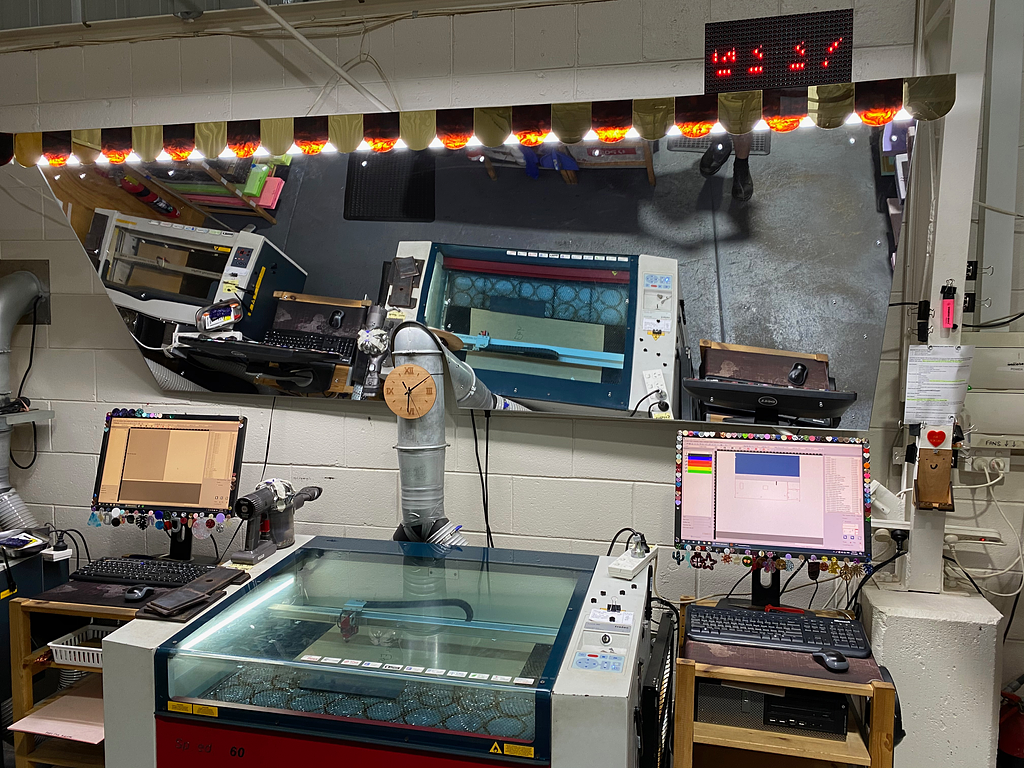
After some clean up, a quick laser cut case and a longer serial usb cable we ended up with a solution that is simple, and yet a powerful tool when trying to manage your time running both the lasers and performing other shop duties.
image.png8.52 MB The Final Product. image.png14.1 MB